
Christmas is coming and I'm so excited!
I love this time of year, it's so busy and cozy all at the same time.
One thing I love most about Christmas is being able to decorate my home with all of our favourite decorations. Some are old, some are new, some I've bought and some I've handmade. My absolute favourite decoration for this time of year are my beloved glitter houses.These adorably whimsical miniature houses make me feel so happy and I'm sharing with you how you can make your own glitter houses for your home or for a special gift to give.

The supplies you'll need for this project are:
- one Putz style cardboard house
I purchased these miniature pre-assembled houses from Little Village Houses on etsy
- assorted acrylic paints in your favourite colours.
- hot glue gun and glue
(find at Michael's or Walmart)
- beads and assorted decorations for your house & trees
- miniature bristle brush trees
(I purchased the Celebrate It brand from Michael's)
- Snow-Tex
- glitter
- transparent paper
(I found some in the scrapbook paper section of Michael's)

Step 1: Paint your house. Make sure to paint the entire surface, including underneath the roof etc. so that none of the original cardboard colour shows. Paint your fencing and the base for your house as well. You shouldn't need more than 2 coats for this step and the paint will dry quickly on the cardboard.

Step 2: Take your transparent paper and measure the sizes you'll need to cut for your windows. Now you can cut and glue the paper to the inside of your house and cover all of the windows on your house with crafting glue. You can find the paper in the scrapbook section of any craft store. This will give a nice glow for your lights/battery operated candle (no real flames please!!).
Step 3: Take your glue gun and glue your house to the base. Make sure to place it properly onto the base and to leave room for your fence and any decorations like trees, etc. that you will be adding later on.
Step 4: Glue your fence to the base. Make sure to hold up the fence while the glue cools to make sure that it won't fall or lean. (approx 5- 10 seconds)
Step 5: Decorate!! This is where it gets even more fun! You can add all sorts of cute decorations to your house. Wreaths, trees, garland, a mailbox, presents, a snowman, an old fashioned car, a deer, and whatever you can imagine! I usually go to Michael's and shop from their Merry Minis collection from the Celebrate It brand. You can also look for anything in the miniature dollhouse sections of any craft or hobby shop. Use your hot glue gun to add all of these special elements to your house and please let your imagination go wild!
Step 6: Add snow to your house with some Snow-Tex. I like to take a seperate container, and mix some Snow-Tex with a small amount of water. This will make it easier to add the snow to your house. Take a rounded paint brush and dab the snow onto your house. Don't forget to add to the trees, fence and chimney!

Once you've finsihed decorating your house, you're ready for the final step. GLITTER!!
Step 7: Take your house, spray adhesive, glitter and some newspaper outside. Place your house onto the newspaper and spray your house in sections making sure to follow the directions of your spray ahesive. Spray one section and sprinkle glitter onto the area where you have applied the glue. I like to do it in 4 parts, front, back and each side. Make sure to cover every inch of your house with glitter and shake it around to get any loose glitter off of your house.

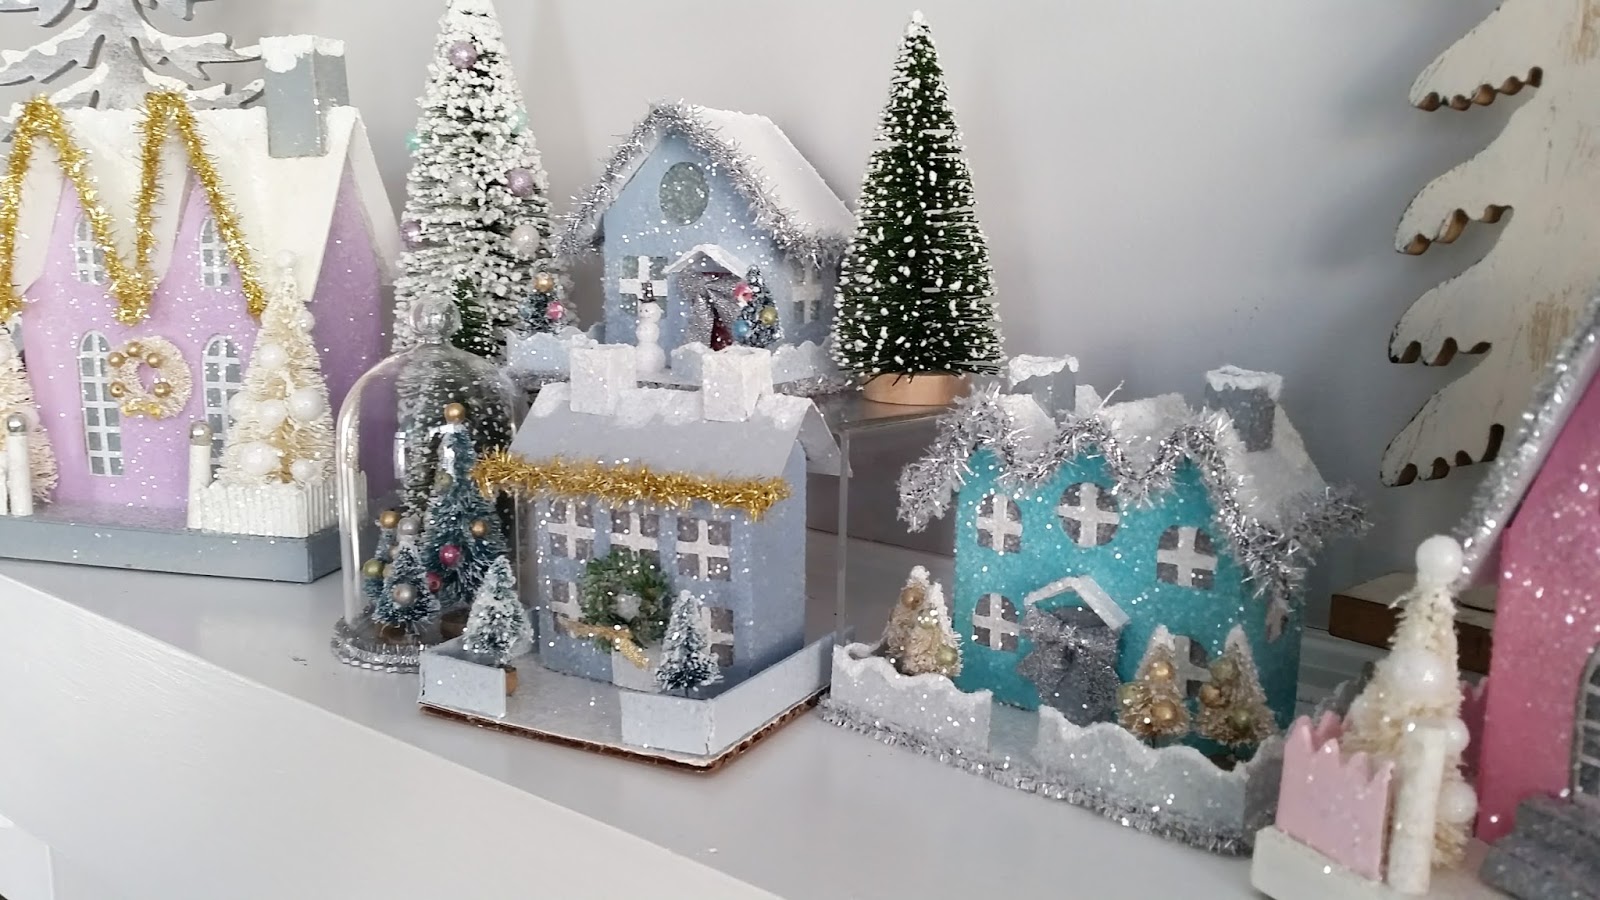

That's it! So easy and so much fun to create, I absolutely adore these pretty, sparkly houses! You can create an entire village if you want like I do too. Here is a little look at some of the houses (and trees) that I've created. The larger purple and pink houses were made using Melissa Frances house kits. These are very labour intensive and take a lot of time and fine details to create. I really recommend these houses as well for a fun craft DIY to do. When making the Melissa Frances houses, make sure to paint each component first before gluing them together.
I hope you had fun creating your DIY Glitter House, and I'd love to see your creations!
Tag us on Instagram with #BrooklynDesigns #bdcrafty so we can see what you made.


.jpg)

.jpg)
.jpg)
.jpg)
.jpg)
.jpg)


.jpg)


.jpg)


